 How to resolve AdBlock issue?


One can see parts 1-3 and 5 of this discourse here, here, here and here.
I had a bit of an eye opening a few days ago when I was writing the part about how I made my board and I asked my wife if she thought that the board made my game look amatuerish and she told me "No, the board is fine. It is the counters that look bad". And to be honest she does have a point, but the good news is that 1) the quality doesn't affect the game, and 2) if I find a fix to the main problem it is easily fixed.
Now the one thing I have learned and would definitely recommend it to anyone trying for a decent quality PnP game is to print your counters out and attach them to wood. I have messed about with various counters and tokens for miniature games by doing them on cardboard and the results are not comparable. The difference is the feel between something intended to be temporary and something intended to be permanent.
So I bought my disks online from the US from a place called http://caseyswood.com/. You can also get similar stuff from http://bedi-spielematerial.eu/ or http://www.spielematerial.de/ or http://www.boardgamebits.com/store/. Casey's was the cheapest by far, but they only did natural wood, whereas the other options provide various colours for painted disks. I wanted the bulk of my disks black, so the quick and easy option was to dye them with Rit fabric dye. This was only AU$8 for a small packet and upon dying my disks look great (for those wanting to know more, bring about 2-3L of water with your entire packet of dye mixed in to the boil, dump your disks in and simmer for 2 hours, stirring every 10 minutes. Strain the disks and leave them to dry for a week or so). The advantage of dying the disks is that it gives a more even coverage than trying to spray paint them, and it doesn't chip off, leaving a longer lasting finish.
I did make one mistake which people should keep in mind. I have small kids and didn't have appropriate space to keep them drying individually on paper towels out of reach of the kids for a week, so I just dumped them all in a big bucket with same paper towel in the bottom. I thought that the worst effect this would have was that it might take a few extra days to dry, but I was wrong. 5 days later I checked on them and found that there was mould growing on many of them. Upon doing some research on the net, I found that mould only grows on wet wood, so as they continued to dry it died. So while the mould died by itself, I did have to go through and scrub all the disks with a damp cloth to remove it all.
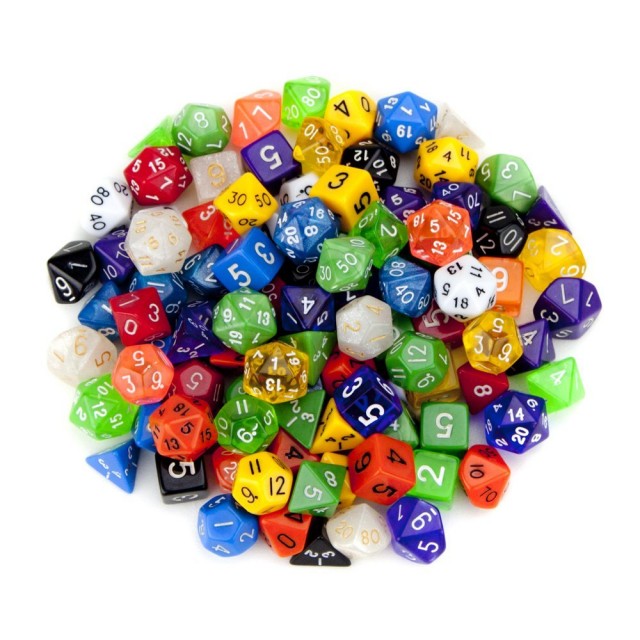
So at this point I had about 600 black disks in various sizes. To turn them into counters I printed out the 20 sheets of counters on sticker labels, and then had to cut them out and apply to the disks. As one may have read in the planning section I bought a couple of craft paper punches for doing this, and after doing some trials on misprinted sheets thought they would be great. However on the night I started doing this soon I realized that they were inadequate. There was never a perfect circle cut, about 1 in 3 was usable, and about every fourth one was completely mangled. I suspect that the problem is the fact that the backing paper is not attached firmly so as the punch is pushing through there is some slippage between the backing paper and the sticker causing the punch to do odd things.
 This was the point where I had a decision to make. I could mess around for a few days/weeks/months trying to find the perfect way to cut out circles buying various tools, or I could just put my head down and work hard, cut them all out with scissors and have a workable but non-perfect copy in a weeks time. One of the things I had wanted to avoid was using scissors for this project, and I ended up using them for a major part of the project. Using scissors is a really bad idea, as you never get the sort of cut you are hoping for as they are too imprecise (or maybe it is just me that never gets good results).
So I sat down and have now cut out about 1200 circles. I have no idea how long it took, but it wasn't that long. Some aren't too bad. Some are horrid. The bulk I did one Saturday sitting down in front of the TV watching the Winter Olympics for a few hours, but from when I started on a Thursday evening to the following Monday evening I had cut out and applied over 800 circles and the base set was complete and playable (we had company over on the Friday evening so no work was done that day, and a picnic taking up the bulk of Sunday so it is not as though I was going non-stop). My guess is that it was around 10 hours work, plus about another 6 hours for the expansions. All up I did it in 8 days, which was a pleasant surprise as I was expecting this to be the most arduous part of the build and it just flew by.

The 14 culture disks I wanted marked with the colours of the culture, so these I coloured in with my kids textas with mixed results. Some match the colour perfectly, some are way off (such as the Whynom pictured here which is one of my worst). I think if redoing this I would have just made them all black as it is cleaner and even, while not as flashy. I also sprayed both sides of my disks with a gloss paper sealer, which gives them a nice waxy feel, and will hopefully keep the paper from degrading too soon.
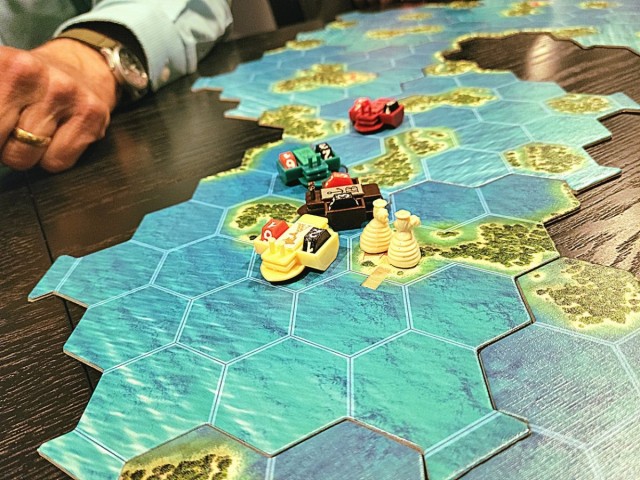
The one good decision I did make was that for the bulk of the disks (500 of the 600 were small 3/4" circles) I bought ones slightly larger than the sticker (7/8"). If doing this, I would say always get them larger than the sticker, and I have no idea why I didn't do it for the larger ones as I considered it but didn't follow through (my excuse is that I was following the instructions of someone else who also bought larger ones for the small disks but same size for the larger ones). As you can see in the picture they look slightly nicer with the black framing the disk, and they also feel much nicer when you play as when you pick up the larger ones you can feel the sticker on the edge, and I suspect they will start to peel much sooner. Also positioning has to be much more exact when there is no margin of error.
As with the board, I have found that when you play you don't notice the poor quality of the cutting out. I was concerned that with some tokens that are face down with hidden information underneath that the inconsistency would leave you remembering which token was which, but on playing this didn't seem to be an issue (I think as long as differences are not huge and there are a sufficient number of tokens they will go unnoticed).
If they are bugging me enough, in a few months I may try to fix them. The stickers peel off easily enough, and printing out new ones won't cost me a cent as I have spare sticker sheets. So far it is the fact that the larger disks have there stickers running to the edge that bugs me the most, and maybe I will just redo them after buying some larger disks when I have time and money spare.
In spite of my doubts the set looks great from a distance of a metre or more. I was playing last night with my daughter and my sister-in-law didn't realize it was the game she has seen me making the week before and thought it was one I had bought. The final update on this project may take a couple of weeks. I have a few things in the mail coming from overseas so they will take a while to get here, but the good news is that I can play happily with my set until they arrive as they are non-essential.
